
Are you craving a dessert that’s both indulgent and gluten-free? Look no further! This homemade gluten-free Oreo ice cream cake is a crowd-pleaser, combining rich chocolate and vanilla ice cream layers, a hot fudge center, and a fluffy homemade whipped cream frosting. Perfect for birthdays, summer parties, or whenever you’re in the mood for a show-stopping treat, this cake is guaranteed to satisfy your sweet tooth!
I make this scrumptious dessert for my husband’s birthday every year (it’s his favorite!), and it is always a hit for everyone who joins in. Plus, it keeps very easy in the freezer…just make sure you have the space! We own a large freezer, so I store it in there while preparing and eating.
Whether you’re living gluten-free or simply want to make a delicious dessert that everyone can enjoy, this ice cream cake checks all the boxes—creamy, crunchy, and oh-so-satisfying!
Why You’ll Love This Gluten-Free Oreo Ice Cream Cake
- ✅ 100% gluten-free with gluten-free Oreo-style cookies
- ✅ Two creamy ice cream layers—chocolate and vanilla
- ✅ A gooey hot fudge center that melts in your mouth
- ✅ Topped with homemade whipped cream for the perfect finish
- ✅ Easy to prepare and make ahead, ideal for any occasion

Ingredients for Gluten-Free Oreo Ice Cream Cake
Crust:
- 1 package of gluten-free Oreo-style cookies (crushed)
- 4 tablespoons melted butter
Ice Cream Layers:
- 1.5 quarts gluten-free chocolate ice cream
- 1.5 quarts gluten-free vanilla ice cream
Hot Fudge Layer:
- 1 cup heavy cream
- 1/2 cup semi-sweet chocolate chips
- 1/4 cup sugar
- 1 tsp vanilla extract
Homemade Whipped Cream Frosting:
- 2 cups heavy whipping cream
- 1/4 cup powdered sugar
- 1 tsp vanilla extract
How to Make Gluten-Free Oreo Ice Cream Cake with Hot Fudge
Step 1: Prepare the Oreo Cookie Crust
Start by crushing the gluten-free Oreos into fine crumbs. You can do this in a food processor or by placing them in a zip-top bag and smashing them with a rolling pin. Combine the crumbs with melted butter and press the mixture firmly into the bottom of a 9-inch springform pan. Freeze for 15–20 minutes to allow the crust to set.
Step 2: Make the Hot Fudge Layer
In a saucepan over medium heat, combine the heavy cream, sugar, and chocolate chips. Stir until the chocolate is fully melted and the mixture is smooth. Remove from heat and add the vanilla extract. Allow the hot fudge to cool slightly before pouring a generous layer over the chilled Oreo crust. Return to the freezer and let it firm up for about 30 minutes. You can also use jarred hot fudge. Just make sure to melt accordingly!
Step 3: Add the Chocolate Ice Cream Layer
Slightly soften the gluten-free chocolate ice cream, then spread it evenly over the hot fudge layer. Return the cake to the freezer for at least 30 minutes or until firm.
Step 4: Add the Vanilla Ice Cream Layer
Slightly soften the gluten-free vanilla ice cream and carefully spread it over the chocolate ice cream layer. Freeze the cake for 4–6 hours or overnight for best results.
Step 5: Make the Homemade Whipped Cream
While the cake is freezing, prepare the homemade whipped cream. In a mixing bowl, whip the heavy cream with powdered sugar and vanilla extract until stiff peaks form. Set aside.
Step 6: Frost the Cake with Whipped Cream
Once the ice cream layers are fully set, remove the cake from the freezer. Frost the top and sides of the cake with your homemade whipped cream. For extra flair, decorate with crumbled gluten-free Oreos. Return the cake to the freezer for at least an hour to let everything set.
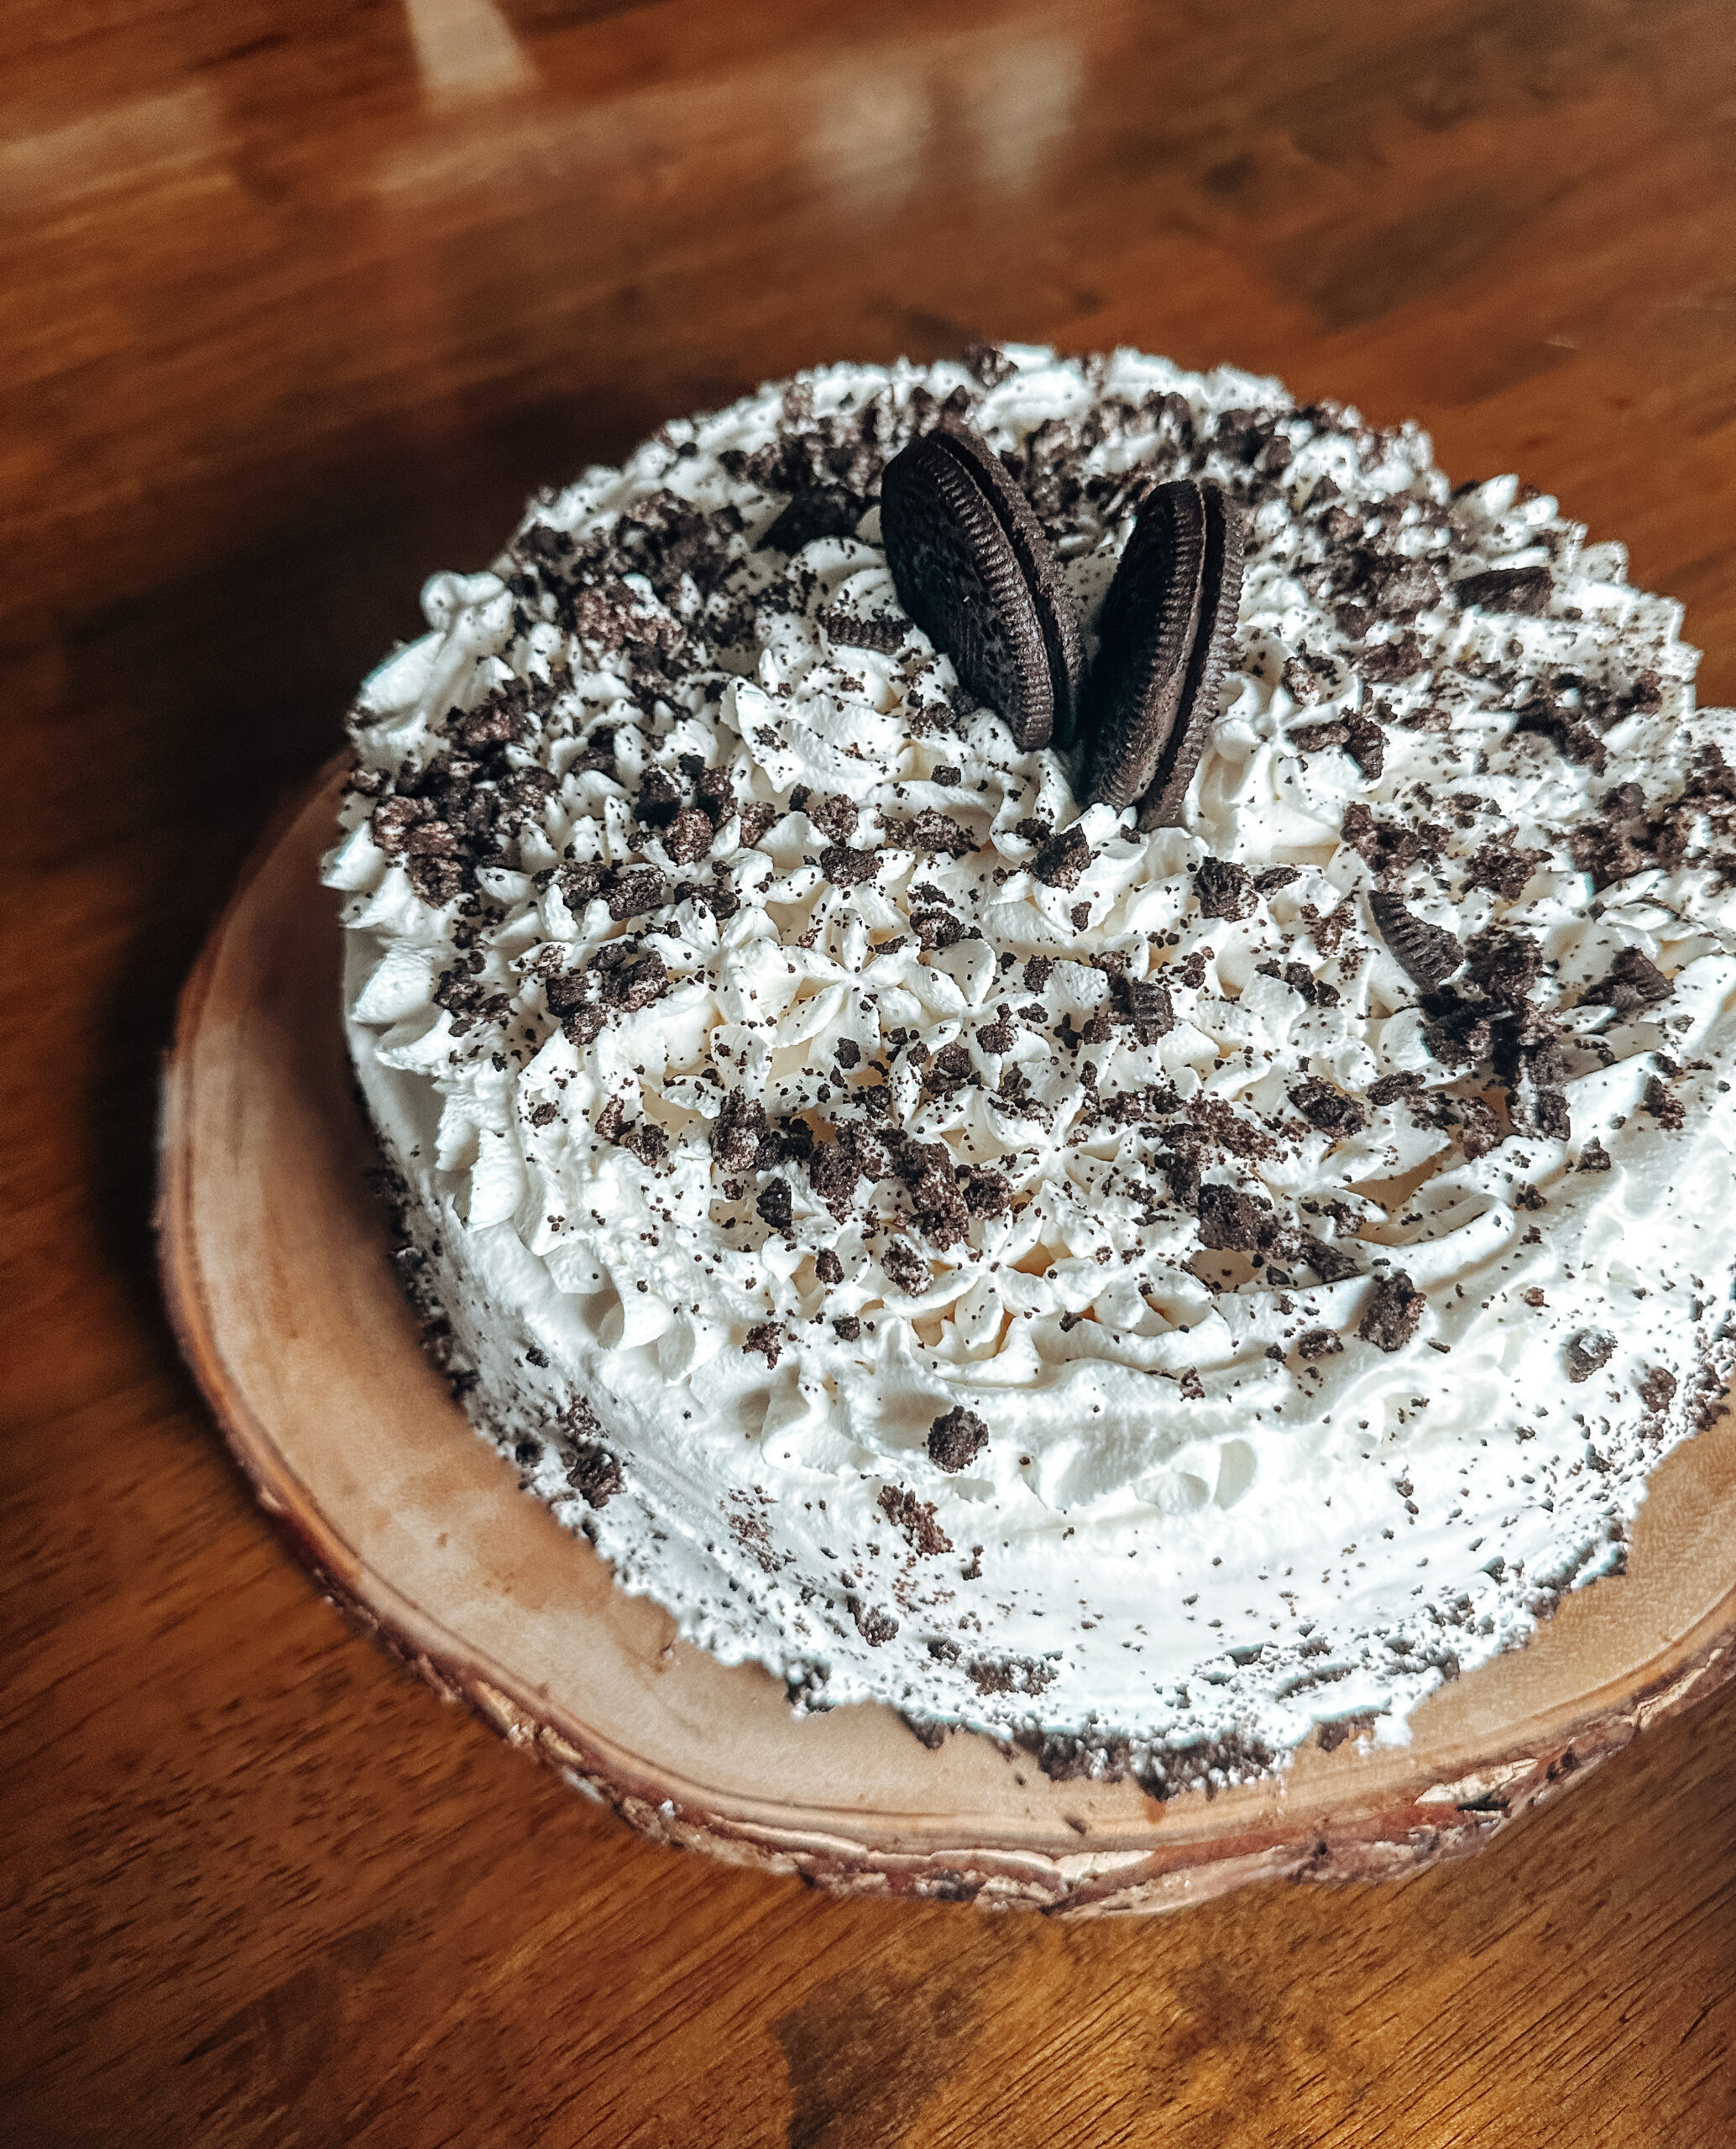
Gluten Free Oreo Ice Cream Cake
Ingredients
Equipment
Method
- Start by crushing the gluten-free Oreos into fine crumbs. You can do this in a food processor or by placing them in a zip-top bag and smashing them with a rolling pin.
- Combine the crumbs with melted butter and press the mixture firmly into the bottom of a 9-inch springform pan.
- Freeze for 15–20 minutes to allow the crust to set.
- In a saucepan over medium heat, combine the heavy cream, sugar, and chocolate chips. Stir until the chocolate is fully melted and the mixture is smooth.
- Remove from heat and add the vanilla extract.
- Allow the hot fudge to cool slightly before pouring a generous layer over the chilled Oreo crust.
- Return to the freezer and let it firm up for about 20 minutes.
- Slightly soften the chocolate ice cream, then spread it evenly over the hot fudge layer.
- Return the cake to the freezer for at least 30 minutes or until firm.
- Slightly soften the gluten-free vanilla ice cream and carefully spread it over the chocolate ice cream layer.
- Freeze the cake for 4–6 hours or overnight for best results.
- While the cake is freezing, prepare the homemade whipped cream. In a mixing bowl, whip the heavy cream with powdered sugar and vanilla extract until stiff peaks form.
- Store in fridge until ready to use the next day. This will allow it to get stiffer and be easier to work with.
- Once the ice cream layers are fully set, remove the cake from the freezer. Frost the top and sides of the cake with your homemade whipped cream.
- For extra flair, decorate with crumbled gluten-free Oreos and a drizzle of any leftover hot fudge.
- Return the cake to the freezer for at least an hour to let everything set.
Tips for the Best Gluten-Free Oreo Ice Cream Cake
- Use a springform pan for easy release and a flawless presentation. This is key!
- Let each ice cream layer firm up before adding the next one to prevent them from blending together.
- Dip your knife in hot water before slicing to make clean cuts through the frozen cake.
- For an extra touch of indulgence, drizzle extra hot fudge over the finished cake before serving.
Storage & Serving
Store this gluten-free Oreo ice cream cake in the freezer, covered with plastic wrap or foil. It will stay fresh for up to 7 days. Before serving, let the cake sit at room temperature for about 5–10 minutes for easier slicing.
This gluten-free Oreo ice cream cake with layers of creamy chocolate and vanilla ice cream, gooey hot fudge, and fluffy whipped cream is a dessert dream come true! Whether you’re celebrating a special occasion or just craving a sweet indulgence, this cake will impress everyone at the table—gluten-free or not!
Make sure to try it at your next gathering and watch as your guests go back for seconds (or thirds)!
Let me know how you like it!
Best,
Hannah
Print Recipe


Leave a Reply